Author: Christine

Christine is the voice behind The Tart Farm in Western North Carolina, where she breeds dairy goats with strong milking lines, keeps a mixed flock of chickens, and grows seasonal vegetables and herbs. She shares practical farm knowledge, herd updates, and recipes rooted in the food raised close to home.

Raising Cornish Cross Chickens, One Feeder Refill at a Time

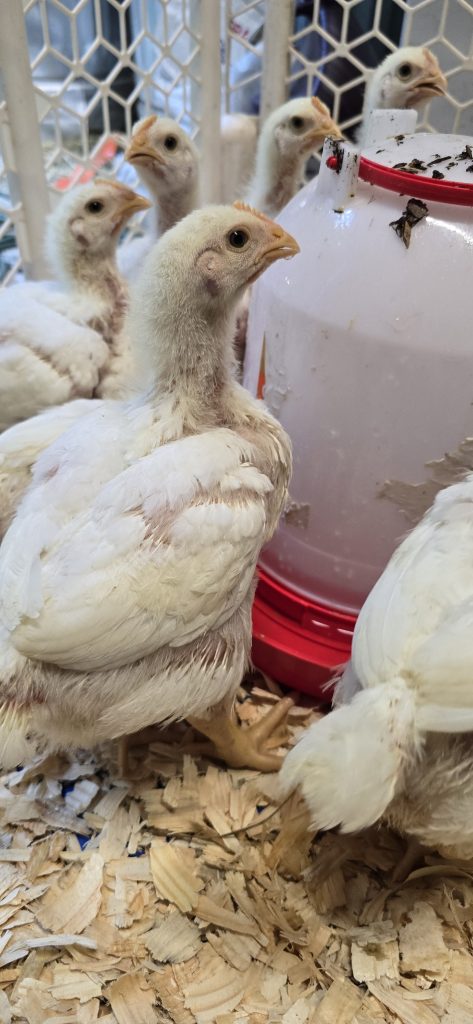
White Cornish X at 9 weeks

Eight weeks ago, our “dollar chicks” arrived as small, fuzzy question marks. Now, they crowd around the feeder like a flock of feathered footballs. In one more week, we will butcher them. My sister is coming up from Florida to help Rick and me, turning processing day into a family effort as well as the final step in raising Cornish Cross chickens.

Eating Is Their Favorite Chicken Activity

These birds have certainly made us laugh. However, they do not spend much time doing traditional chicken things. They rarely scratch, explore, or race across the pen with the enthusiasm of our laying breeds. Instead, they focus on their life’s great mission: eating. Then they rest, eat again, and somehow look surprised when the feeder needs another refill.

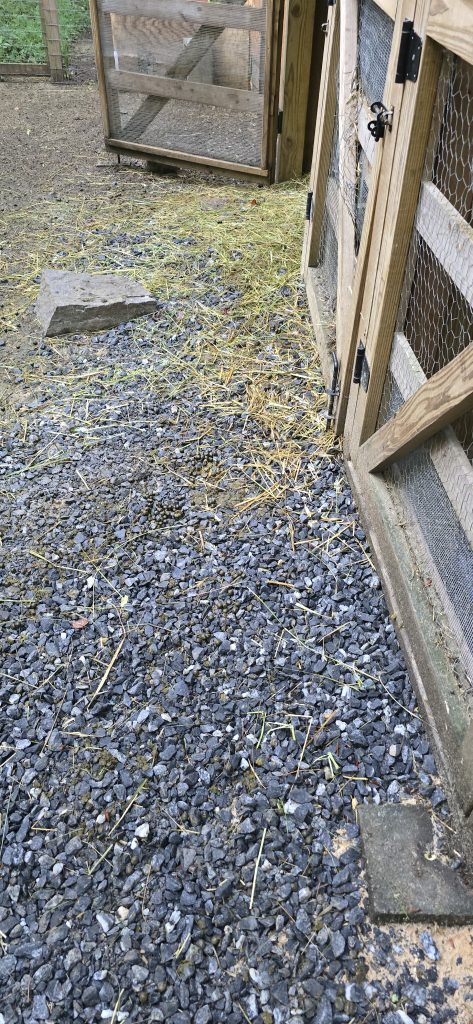
Of course, all that food creates an impressive amount of waste. Keeping their bedding dry and their housing and yard clean has required far more time and labor than we expected. Therefore, before we raise another batch, we will need a different setup. A movable shelter or another system that manages soiled bedding more efficiently could reduce our workload while still protecting the birds’ health and comfort.
This first group has taught us that good intentions need practical infrastructure underneath them.

A Short Life with Good Care

Despite the extra work, we have enjoyed raising Cornish Cross chickens. They have quiet, mild temperaments, and the entire group has remained together in a roomy area with their hatch mates.

Commercial broilers generally do not live in individual cages. Instead, many live by the tens of thousands inside large enclosed sheds, often with little room as they approach processing weight. The ASPCA’s overview of animals on factory farms provides more information about commercial meat-chicken housing and rapid-growth welfare concerns. Content warning: The linked page contains upsetting descriptions and images of commercial farming conditions.

Processing day will still carry weight. We have cared for these birds every day, and enjoying them does not erase the purpose for which we raised them. At the same time, “saving” fast-growing Cornish Cross birds by keeping them indefinitely is not a simple or necessarily kinder option. As they continue growing, their genetics can place increasing strain on their legs, hearts, and other organs.

Soon, our freezer will hold meat from birds we raised ourselves. We know they received organic feed and no antibiotics. We also know their meat will not contain an injected broth or seasoning solution. Most importantly, we know their short lives included fresh air, room to move, clean water, attentive care, and the company of their flock.

That knowledge does not make the final day easy. It does, however, make the full circle honest.
Categories: Flock & Eggs

Tags:

Green with Patience: Protecting Tomatoes and Pollinators

Some parts of our garden have rushed headlong into summer, while others seem determined to take their time. The zucchini and yellow squash continue to flourish, giving us more to pick every time we walk through the garden. Meanwhile, the tomatoes have moved at a much slower pace this year.

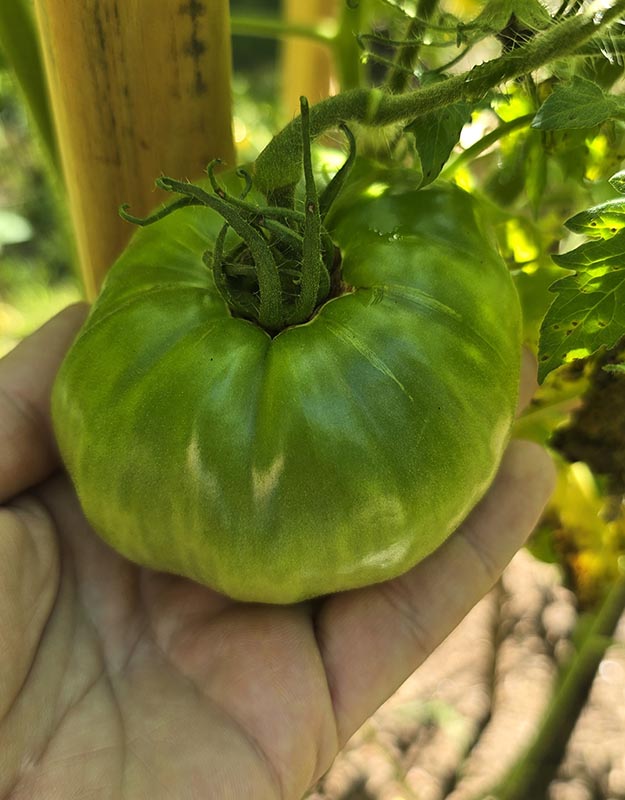
The large green tomato in this photo grows on one of my heritage Mortgage Lifter plants. I could not resist slipping my hand beneath it to feel its weight and admire the promise of what may still come. After spending so much time pruning, tying, inspecting, and worrying over these plants, finding a tomato this size feels encouraging.

Hornworms Never Miss a Meal

Unfortunately, the hornworms have also noticed the tomatoes.

These large green caterpillars blend almost perfectly into the foliage, but their appetites quickly reveal them. We have already found several, and one managed to eat nearly an entire smaller tomato plant before we caught it. When you grow without routinely using pesticides, checking each plant becomes part of the daily garden walk.

We remove the hornworms by hand whenever we find them. However, the amount of damage convinced us that we needed another layer of protection. We chose a spinosad product labeled for tomatoes. Spinosad comes from a naturally occurring soil microorganism and disrupts the nervous system of insects that eat or come into contact with it.

Some Spinosad products qualify for organic gardening, but organic does not automatically mean harmless to every insect. Protecting tomatoes and pollinators requires careful timing because wet Spinosad can harm bees. Therefore, we follow the label, avoid spraying open flowers, and apply it after pollinators have finished working for the day.

When the Rain Keeps Coming

Constant rain has caused problems in several areas of the farm. We have already battled drainage issues at the does’ barn, and the tomatoes have suffered as well. Repeated rain damages the leaves and creates ideal conditions for fungal and bacterial diseases.

Although I have pruned the plants heavily, tied the vines up, and tried to improve airflow, the leaf damage continues. We recently applied a copper fungicide in hopes of slowing its spread.

Copper fungicide leaves a protective coating on the foliage. Copper ions interfere with proteins in fungi and bacteria, which helps prevent new infections from becoming established. However, it cannot repair leaves that already show damage.

Copper generally poses little direct risk to bees, but we still use it carefully. Too much can injure plants, accumulate in the soil, and harm aquatic life through runoff. Moderation, timing, and label directions matter with both products.

For us, protecting tomatoes and pollinators means paying attention, choosing the narrowest tool available, and using it only when necessary. Despite the hornworms, spotted leaves, and slow-ripening fruit, we remain thankful for the rain. We only hope it begins to ease the drought our mountains have carried and leaves us enough tomatoes for a very good sandwich.

Categories: From the Garden

Improving Goat Barn Drainage Before the Next Downpour

Rain does not need much encouragement to create trouble around a livestock barn. Unfortunately, we learned that lesson again this summer. Water collected in front of our dairy goat stalls, while straw, manure, and dropped alfalfa trapped the moisture underneath.

Although the surface sometimes looked dry, the ground remained soft and slick for days. As a result, every trip through the barn became an unpleasant shuffle across mud and decomposing barn debris.

More importantly, the wet ground created unhealthy conditions for the goats. Our milking does needed a firm, dry place to stand and walk. However, their hooves could not dry completely while they crossed the damp area several times each day. Prolonged moisture can soften hooves and contribute to foot rot and other hoof problems. Therefore, improving goat barn drainage moved ahead of several less urgent farm projects.

Starting Under the Stall Mats

First, Rick and I removed the heavy stall mats. Over time, the material beneath them had shifted and settled. Consequently, the mats no longer rested on a firm, level surface.

We added loose rock beneath the mats and carefully releveled each stall. Then, we reinstalled the mats over the improved base.

Because the rock allows water to move underneath the flooring, moisture should no longer remain trapped directly beneath the goats. In addition, the level mats provide a safer surface for the does to stand on while eating and resting.

The job required plenty of lifting, adjusting, and second-guessing. Nevertheless, the finished stalls immediately felt more stable.

Adding Rock in Front of the Barn

Next, we spread smaller rock across the worst area in front of the stalls. Previously, every hoofprint and boot print pressed organic material deeper into the mud. Meanwhile, each new rainstorm added another layer to the mess.

The new rock gives water space to drain instead of pooling at the barn entrance. Furthermore, it provides a cleaner and less slippery walking surface for both goats and people.

This stage of improving goat barn drainage does not solve the entire problem. However, it gives us a much better foundation while we prepare for the next phase.

Gutters and Rain Barrels Come Next

Ultimately, we need to stop roof runoff from landing in front of the stalls. Gutters offer the obvious solution, but the barn needs some preparation before Rick can attach them securely.

Once the gutters are installed, we plan to connect them to rain barrels with appropriate filters. Then, we can use the collected water to rinse barn areas or provide animal water when needed.

Additionally, the barrels will reduce the amount of water flowing toward the stall doors. They will also save us from carrying as much water down from the main spigot near the house.

Although we have experienced frequent downbursts, our region continues to struggle with drought conditions. Therefore, capturing rainwater makes sense for both drainage and future water needs.

For now, the rock has already made the barn cleaner, firmer, and easier to navigate. The project may lack polished farmhouse charm, but dry hooves and safer footing matter much more than pretty pictures.

Categories: Dairy Goats

Building Bert’s Greasy Bean Trellis

Why Bert’s Greasy Beans?

Bert's Greasy Bean Trellis

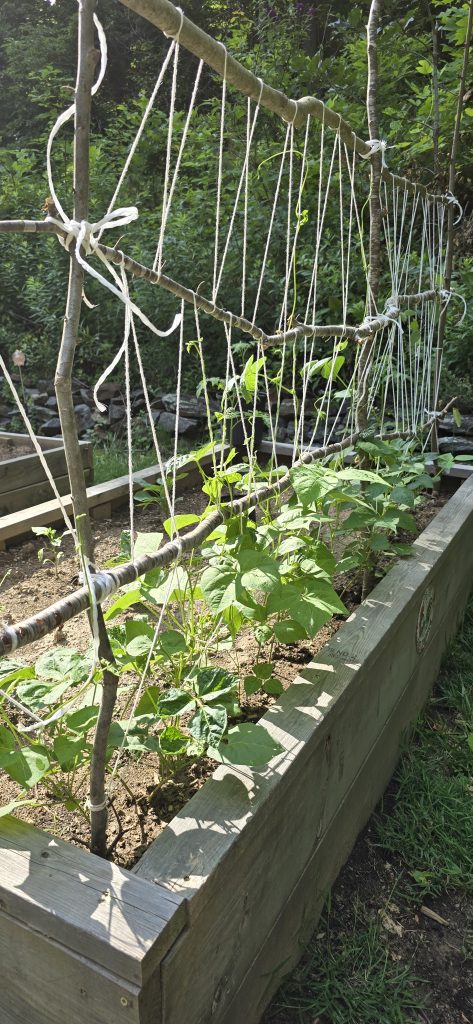
My Bert’s Greasy Bean trellis started with small saplings that already needed thinning, cotton string I already had, and poly twine left over from other projects.

In other words, this trellis cost me nothing out of pocket this season.

I chose Bert’s Greasy Beans because they belong to this area in a way that feels specific and practical. They are not just another bean in a seed packet. Around here, greasy beans show up as a specialty bean at the farmers market, and they tend to sell out fast because people know what they are. Demand stays high, and supply stays limited, which tells me they are worth growing if I have the space and the patience.

Building the Trellis from What I Had

For the Bert’s Greasy Bean trellis, I set one sapling upright on each end and one in the middle. Then I lashed more saplings horizontally across the three posts. Between each level, I zig-zagged cotton string into little triangles so the vines would have plenty of places to grab.

At first, the trellis surprised me. The first two horizontal saplings made the whole thing feel sturdy enough that I stood back and thought, “Well, look at that actually working.” However, as I added more levels and the beans traveled higher, the trellis started to flex a little more. That makes sense. Bean vines may look delicate, but once they climb, leaf out, and start producing, they bring real weight with them.

So, I may add support lines later to keep the trellis steady. For now, though, it is doing exactly what I need it to do.

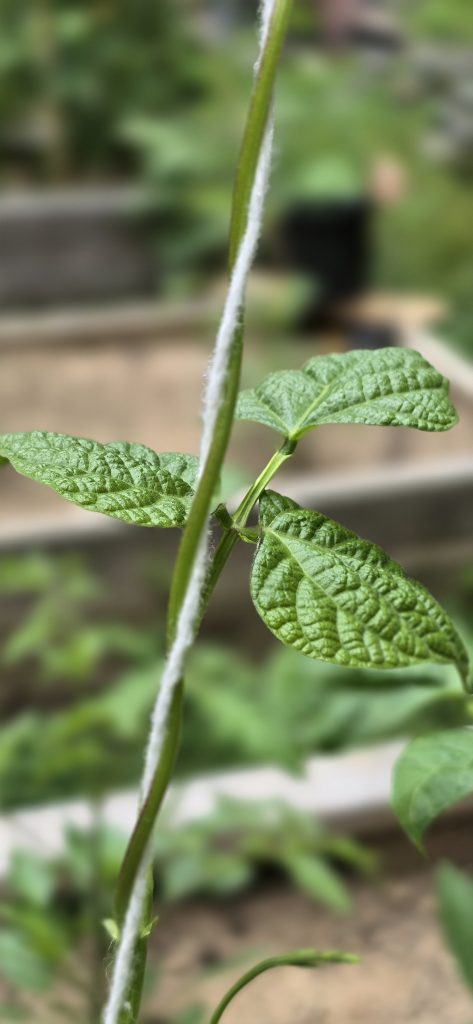
The best part came the next morning after I added another horizontal branch. The vines had already found the string and started curling around it. They did not need a fancy garden structure or anything from a catalog. They just needed something to climb.

Planning for Leather Britches and Seed Saving

Last year, I grew greasy beans and dried all of them into leather britches. Traditionally, people threaded the beans in their pods and hung them to dry. I used a dehydrator instead, because I like old ways, but I also appreciate a plug and a button when life is already full.

After drying, you soak leather britches overnight. Then, the next day, you cook them like greens with salted pork or fatback. This year, I hope to save some beans for seed, dry more for shelf-stable vegetables, and keep building food storage that does not all depend on canning.

That is why this Bert’s Greasy Bean trellis makes me happy. It uses what I had, supports a bean that belongs here, and helps turn a cleared patch of saplings into food for later.

Use what you have. Thin what needs thinning. Let the beans climb.

Categories: From the Garden

One Week With the Dollar Chicks

Growing Fast

One week later, the growing meat chicks have already changed.
They eat with impressive focus, drink constantly, and move through the brooder with more confidence every day. Because Cornish Cross chicks grow so quickly, I expected them to look different fast. Even so, watching it happen still feels a little ridiculous.
The brooder that looked roomy at first now looks much more temporary.

One Small Fighter

However, one of the fifteen dollar chicks has not kept up with the others.
This chick looks smaller, has fewer feathers, and seems weaker than the rest. Still, it keeps pushing forward. It gets to the feeder, eats as much as it can, and keeps trying even when the bigger chicks crowd around like tiny feathered bulldozers.
For now, we are watching closely, making sure it can reach food and water, and giving it every fair chance to keep fighting.

What Comes Next

Meanwhile, the rest of the meat chicks keeps growing exactly the way meat chicks do: fast, hungry, and messy.
Soon, we will start planning their move from the brooder to the 10×10 covered run. First, they need enough feathering and the right weather to be outside without extra heat. After that, they can stretch their legs, get more fresh air, and finish growing with more room.

The dollar chicks may have started as an unplanned Tractor Supply bargain, but one week in, they have fully become a Tart Farm project.

Categories: Flock & Eggs

Tags: